|
(c) 2012 - 2017 * updated MAR 2020 |
||||||||||||||||||||||||
 |
||||||||||||||||||||||||
 |
||||||||||||||||||||||||
 |
||||||||||||||||||||||||
 |
||||||||||||||||||||||||
|
|
|
||||||||||||||||||||||||
 |
 |
|
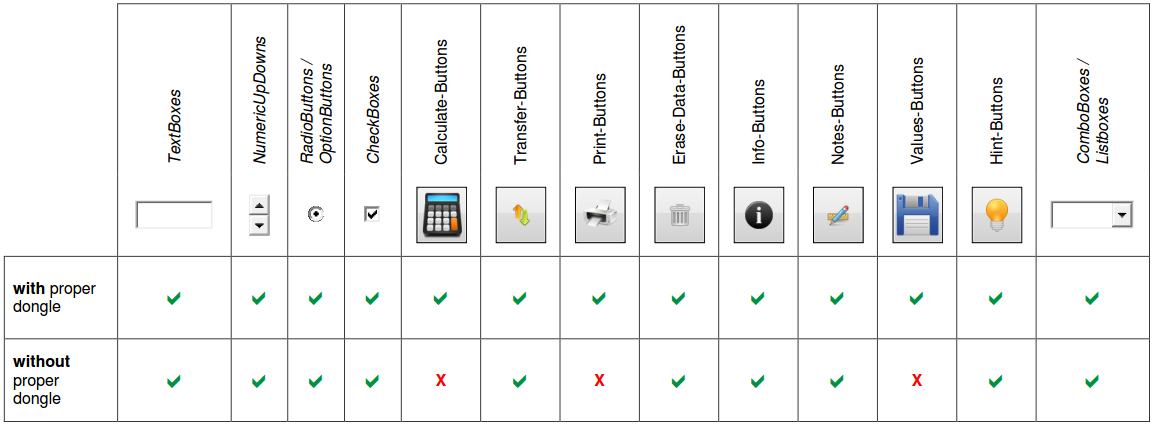
For executing a calculation a proper dongle is required. In case if no proper dongle is detected, calculating, printing and saving or restoring values is not possible. This is also relevant for functions (e.g. selection, value transfers) that call a calculation due to internal routines, automatically. Without a proper dongle every program can be opened and displayed, variables can be entered, options can be chosen, filled data can be erased, program information can be called, notes can be saved and restored and hints can be shown. The table below gives an overview of the possible functions with and without detection of a proper dongle. |
 |
|
|||||||||||||||||||||||||||||||||||||||||||||
|
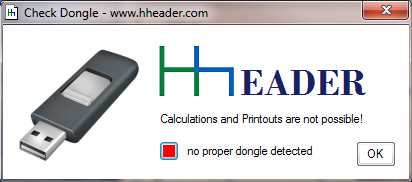
Calculate-Button: Whenever a calculation is triggered, an internal routine will initiate the detection of a dongle, automatically. For a full access to all the program functions a proper dongle is required to be available via one of the USB-slots. A calculation can be triggered either directly by clicking the calculate button or indirectly by the subroutine of another function (e.g. the print command or the change of an item selection). If no proper dongle can be detected via one of the USB-slots, the calculation will be interrupted and the output variables will be blank. Executing calculations is only allowed with a proper dongle! |
|||||||||||||||||||||||||||||||||||||||||||||
 |
|||||||||||||||||||||||||||||||||||||||||||||
|
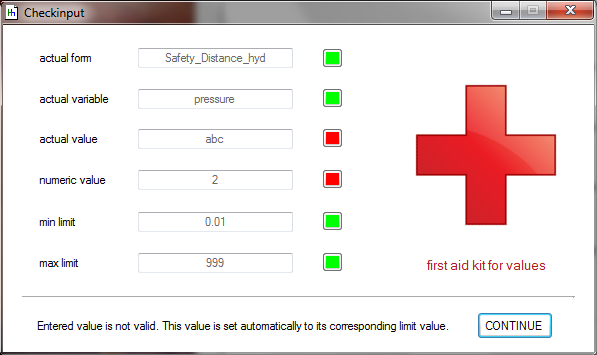
After a calculation was triggered and a proper dongle has been detected via one of the USB-slots, all the input values are checked by an internal routine. Whenever entered values decrease the corresponding min-limits or increase the corresponding max-limits or are not numeric, there will be a message according to the fault. The values will be corrected automatically by the internal routine. The user is requested to check the values regarding their plausibility before and after every calculation. For each input variable there are three kinds of limits defined. These are the min-limit, the max-limit and the numeric replacement value. The limit values for the variables are described in the corresponding chapter of the program documentation. They are also included in the program information which is shown by clicking the Info-Button for the actual program. Whenever one of the limits is disrespected the window shown below appears. |
|||||||||||||||||||||||||||||||||||||||||||||
 |
|||||||||||||||||||||||||||||||||||||||||||||
|
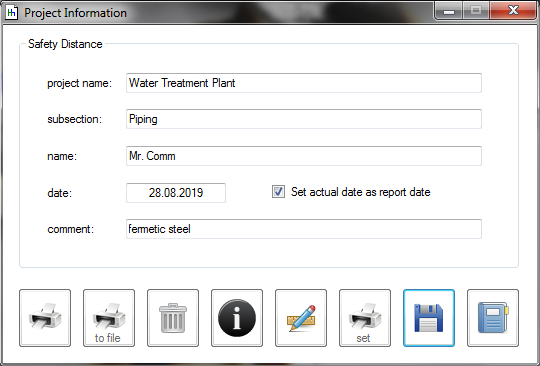
Print-Button: Clicking the Print-Button will trigger a calculation first. In case if the calculation is executed successfully the project information form will appear. Finally the variables that are relevant for the calculation will be printed into a calculation protocol. There are five fields for information provided in the header of the calculation protocol.They can be entered in the form shown below. The information is divided up into project name, subsection, user name, date and comment. For the date there are two options provided: it can be entered as a string variable, if the CheckBox to the right side from the TextBox is deactivated or the actual date will be filled automatically, if the CheckBox to the right side from the TextBox is activated.Be aware that the minimum screen resolution for an accurate printing is “Extended VGA” (EVGA) with x = 1024 pixels by y = 768 pixels (width x height)! |
|||||||||||||||||||||||||||||||||||||||||||||
 |
|||||||||||||||||||||||||||||||||||||||||||||
|
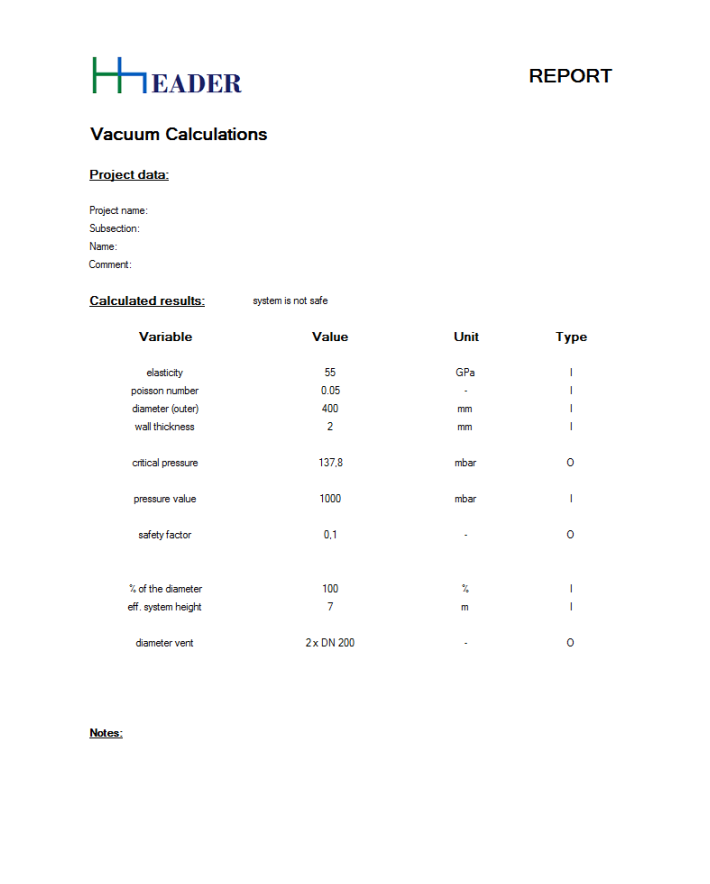
After clicking the Print-Button a calculation report will be generated automatically. There are three different types of calculation reports provided. Depending on the actual activated program the convenient calculation report will be selected automatically by an internal routine.The calculation reports are built up as follows. The reports have a headline. Below the headline the program name is given. Beside this the subsection and the date can be displayed. The next part is the project data. The project data consist of project name, subsection, user name and a line for comments. Below the project data the calculated results are given. This includes the relevant variables. The variable information consists in general of four positions: the designation, the value, the unit and the type of the variable. For the variable types there are different abbreviations defined. They can be shown on a form, that can be opened by the terminal command “types”. The common abbreviations are: I - Input, O - Output, C - Constant, R - Result, S - Selection, F - Factor, T - Text, X - Extra. |
|||||||||||||||||||||||||||||||||||||||||||||
 |
|||||||||||||||||||||||||||||||||||||||||||||
|
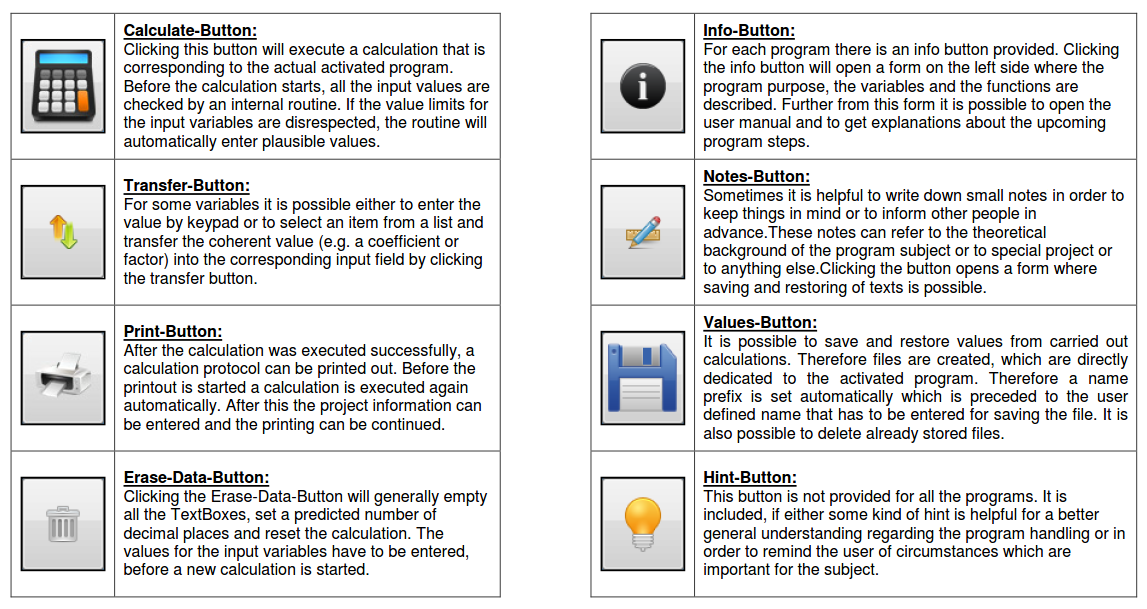
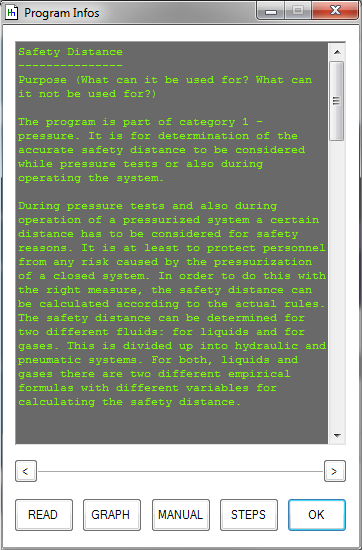
Info-Button: For each program there is an info button provided. Clicking the info button will open a form on the left side where the program purpose, the variables and the functions are described. Further from this form it is possible to open the user manual and to get explanations about the upcoming program steps.
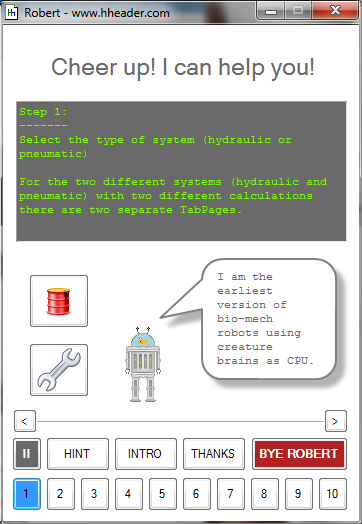
From the program info form another form can be called where a robot can lead the user through the single steps which are required respectively possible for the calculation. Therefore buttons with the numbers 1 to 10 are provided. These buttons show the upcoming steps for the calculation. Further there are common hints and true conclusions given for the subject. |
|||||||||||||||||||||||||||||||||||||||||||||
 |
|||||||||||||||||||||||||||||||||||||||||||||
 |
|||||||||||||||||||||||||||||||||||||||||||||
|
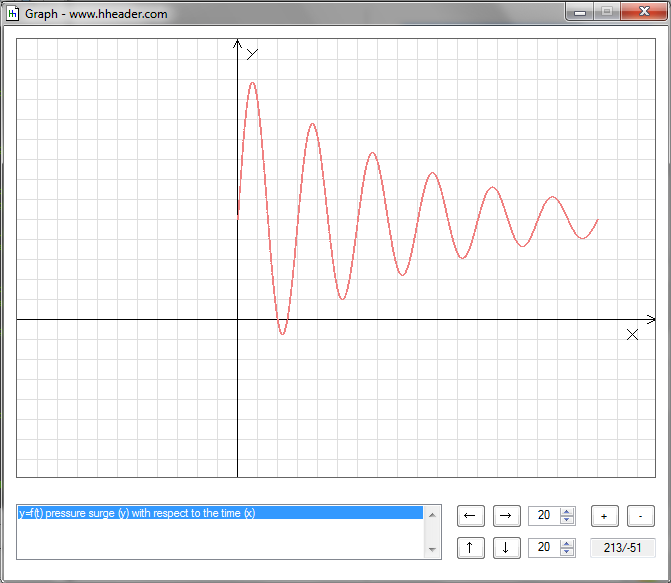
From the program info form another form can be called where it is possible to draw the curves that are corresponding to the calculations for the equations for the program “Pressure Surge”. Two points are important regarding this function:
1.) Up to now the curves have a qualitative characteristic, only!
2.) Up to now this function is available only for the program “Pressure Surge”! |
|||||||||||||||||||||||||||||||||||||||||||||
 |
|||||||||||||||||||||||||||||||||||||||||||||
|
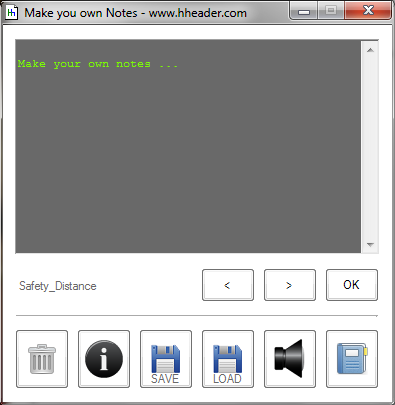
Notes-Button: Sometimes it is helpful to write down small notes in order to keep things in mind or to inform other people in advance. These notes can refer to the theoretical background of the program subject or to special a project or to anything else. Clicking the button opens a form where saving and restoring of texts is possible. The location for the stored files is set automatically in order to ensure a well organized file management. So that it is possible to exchange the notes easily with the colleagues at work and teammates. Therefore just the files in the folder \hhEADER\hh_Notes\ have to be exchanged. Because of these reasons the normal load and save dialogs of the operation system have not been implemented in this program. The programming would have been easier in this case, but the file management would not be predetermined explicitly. |
|||||||||||||||||||||||||||||||||||||||||||||
 |
|||||||||||||||||||||||||||||||||||||||||||||
|
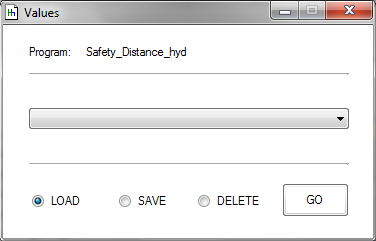
Values-Button: It is possible to save and restore values from carried out calculations. Therefore files are created, which are directly dedicated to the activated program. A name prefix is set automatically which is preceded to the user defined name that has to be entered for saving the file. It is also possible to delete already stored files. The location for the stored files is set automatically in order to ensure a well organized file management. So that it is possible to exchange the value sets easily with the colleagues at work and teammates. Therefore just the files in the folder \hhEADER\hh_Values\ have to be exchanged. Because of these reasons the normal load and save dialogs of the operation system have not been implemented in this program. The programming would have been easier in this case, but the file management would not be predetermined explicitly. |
|||||||||||||||||||||||||||||||||||||||||||||
 |
|||||||||||||||||||||||||||||||||||||||||||||
|
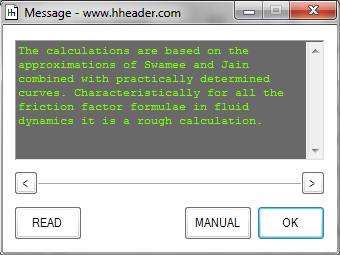
Hint-Button: This button is not provided for all the programs. It is included, if either some kind of hint is helpful for a better general understanding regarding the program handling or in order to remind the user of circumstances which are important for the subject. The message form will also appear in case if the internal calculation rules are disrespected (e.g. division by zero). The actual message text is displayed in the dark area. |
|||||||||||||||||||||||||||||||||||||||||||||
 |
|||||||||||||||||||||||||||||||||||||||||||||
|
|||||||||||||||||||||||||||||||||||||||||||||
|